

Google Analytics is a powerful tool that can help you understand how visitors are interacting with your website. Adding Google Analytics to your WordPress site is a relatively straightforward process that can be completed in just a few simple steps.
Sign Up for Google Analytics
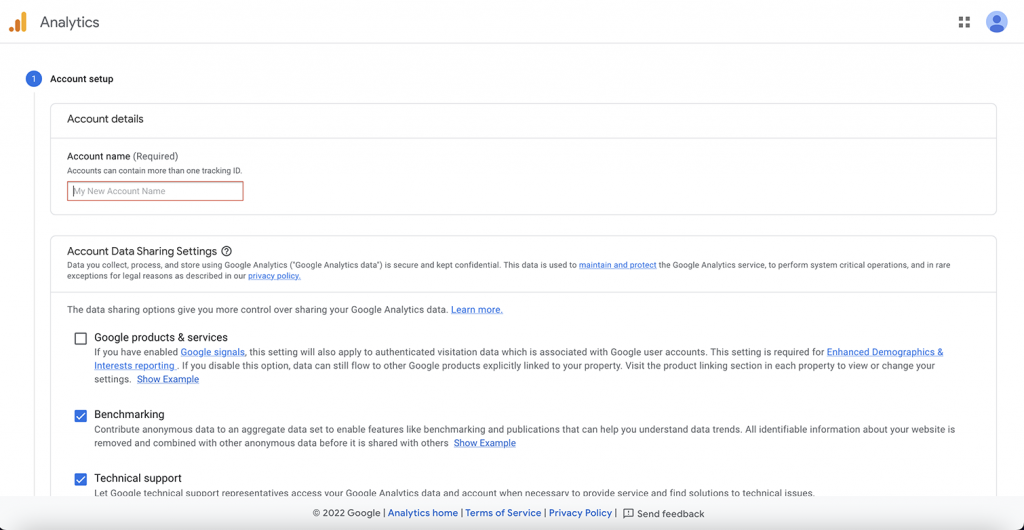
Before you can add Google Analytics to your WordPress site, you’ll need to sign up for a free Google Analytics account. To do this, go to the Google Analytics website and follow the steps to create a new account.

Get Your Tracking Code
Once you’ve signed up for Google Analytics, you’ll need to get your tracking code. This code is what will allow Google Analytics to track visitors to your website. To get your tracking code, log in to your Google Analytics account and click on the “Admin” tab. From there, select your account and property, and then click on “Tracking Info” and “Tracking Code.” You’ll see a code that looks something like this: UA-XXXXX-Y. This is your tracking code.
Install a Google Analytics Plugin
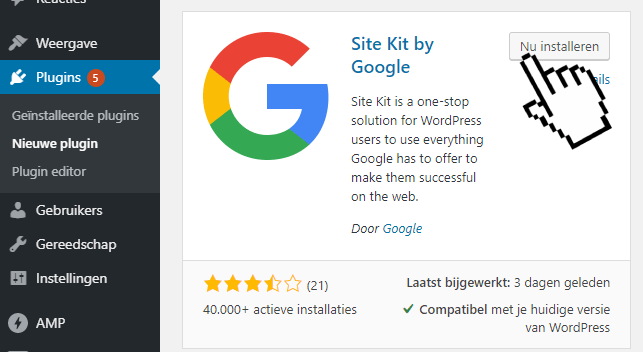
The easiest way to add Google Analytics to your WordPress site is to use a plugin. There are many Google Analytics plugins available for WordPress, but one of the most popular is the “MonsterInsights” plugin and Site Kit by Google. To install this plugin, go to your WordPress dashboard and select “Plugins” and then “Add New.” Search for “MonsterInsights” and then click “Install Now.”
Connect the MonsterInsights Plugin to Google Analytics
Once you’ve installed the MonsterInsights plugin, you’ll need to connect it to your Google Analytics account. To do this, go to “Insights” and then “Settings” in your WordPress dashboard. From there, click on the “Authenticate with your Google account” button and follow the prompts to connect your Google Analytics account.

Connect the Site Kit Google Plugin to Google Analytics
Once you’ve installed and activated Site Kit by Google, go to your WordPress dashboard and click on “Site Kit” in the sidebar. Follow the prompts to connect your Google account with Site Kit. You’ll need to enter your Google Analytics tracking code, which you can find in your Google Analytics account under “Admin” and “Tracking Info”.
Configure Your Settings
After you’ve connected your Google Analytics account to the plugin, you can configure your settings. For example, you can choose which types of data you want to track, set up custom dimensions, and more.
Start Tracking Your Data
Once you’ve completed these steps, you’re ready to start tracking your website data with Google Analytics. The plugin will automatically add the tracking code to your website, and you can view your data by logging in to your Google Analytics account.
In conclusion, adding Google Analytics to your WordPress site is an essential step to understanding your website visitors and improving your website performance. By following these simple steps, you can start tracking your data and gain valuable insights into your website traffic.